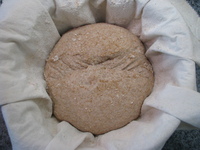
100% whole wheat sourdough: No-knead, overnight, Dutch oven

This is a recipe for a 100% whole wheat sourdough with no extraneous ingredients: Just flour, water, salt, and starter. It does not require any kneading, and instead relies on a low-effort series of tensioning steps over the course of an evening, followed by an overnight proof rise. In the morning it is baked in a Dutch oven.

By the numbers:

  • Active work time is about 30 minutes including all prep and cleanup, assuming a practiced hand. (On top of that, starter maintenance totals about 10 minutes per week.)
  • Start to finish is about 18 hours, but varies based on ambient temperature.
  • In baker's percentages, the recipe is 81% hydration and 1.8% salt.
  • 15% of the total flour is prefermented (that is, is contributed by the starter).

This recipe is best for winter; in a 55–65°F kitchen, a dough started in the afternoon will be ready to proof by bedtime but will not be overproofed by morning. In summer, a different recipe may work better.

I am not a professional baker, and I'm sure this recipe could stand to be improved. (Suggestions welcome, especially if you end up making it!) But this has been my weekly bread for a year now, and I've been quite pleased with the results.

Top view of baked bread
Angled view, showing top and side
Cross-section, showing tight crumb

Basic recipe

Main equipment

  • Kitchen scale
  • Mid-size mixing bowl
  • Floured cloth for lining bowl
  • 5 quart cast iron Dutch oven

Ingredients

  • 400 g water
  • 10.9 g (2 t) table salt
  • 180 g sourdough starter (100% hydration, whole wheat)
  • 515 g whole wheat flour, plus extra for dusting
  • ~2 tsp wheat bran or corn meal

(Yes, 10.9 is weirdly specific. I happen to use a milligram scale for salt and spices.)

Apologies for not having volumetric measurements as well. I can add them if there is interest.

Directions

Times and their repetitions in bold.

  • Measure out water, then mix in salt until dissolved.
  • Add starter and stir to dissolve, then add and mix in flour right away.
  • Once dough is approximately uniform, cover with a plate and let sit for about 15 minutes.
  • Repeat the following 5 times in order to tension the dough:
    • Remove from the bowl, turn upside down, and place on the counter.
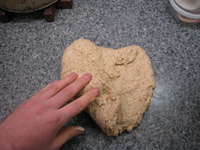
    • Flatten the ball to about 2-3 cm thick.
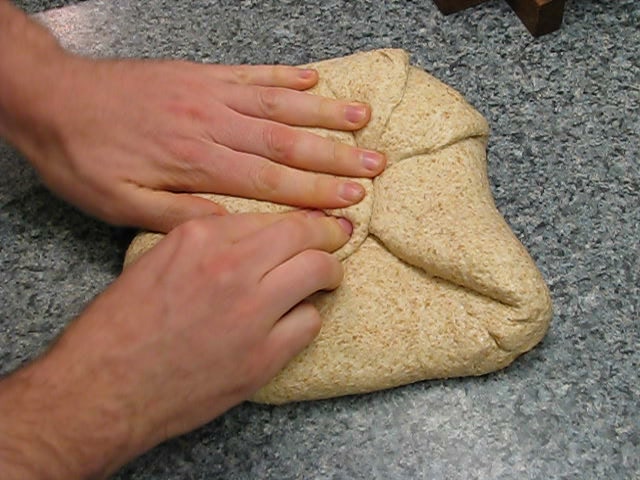
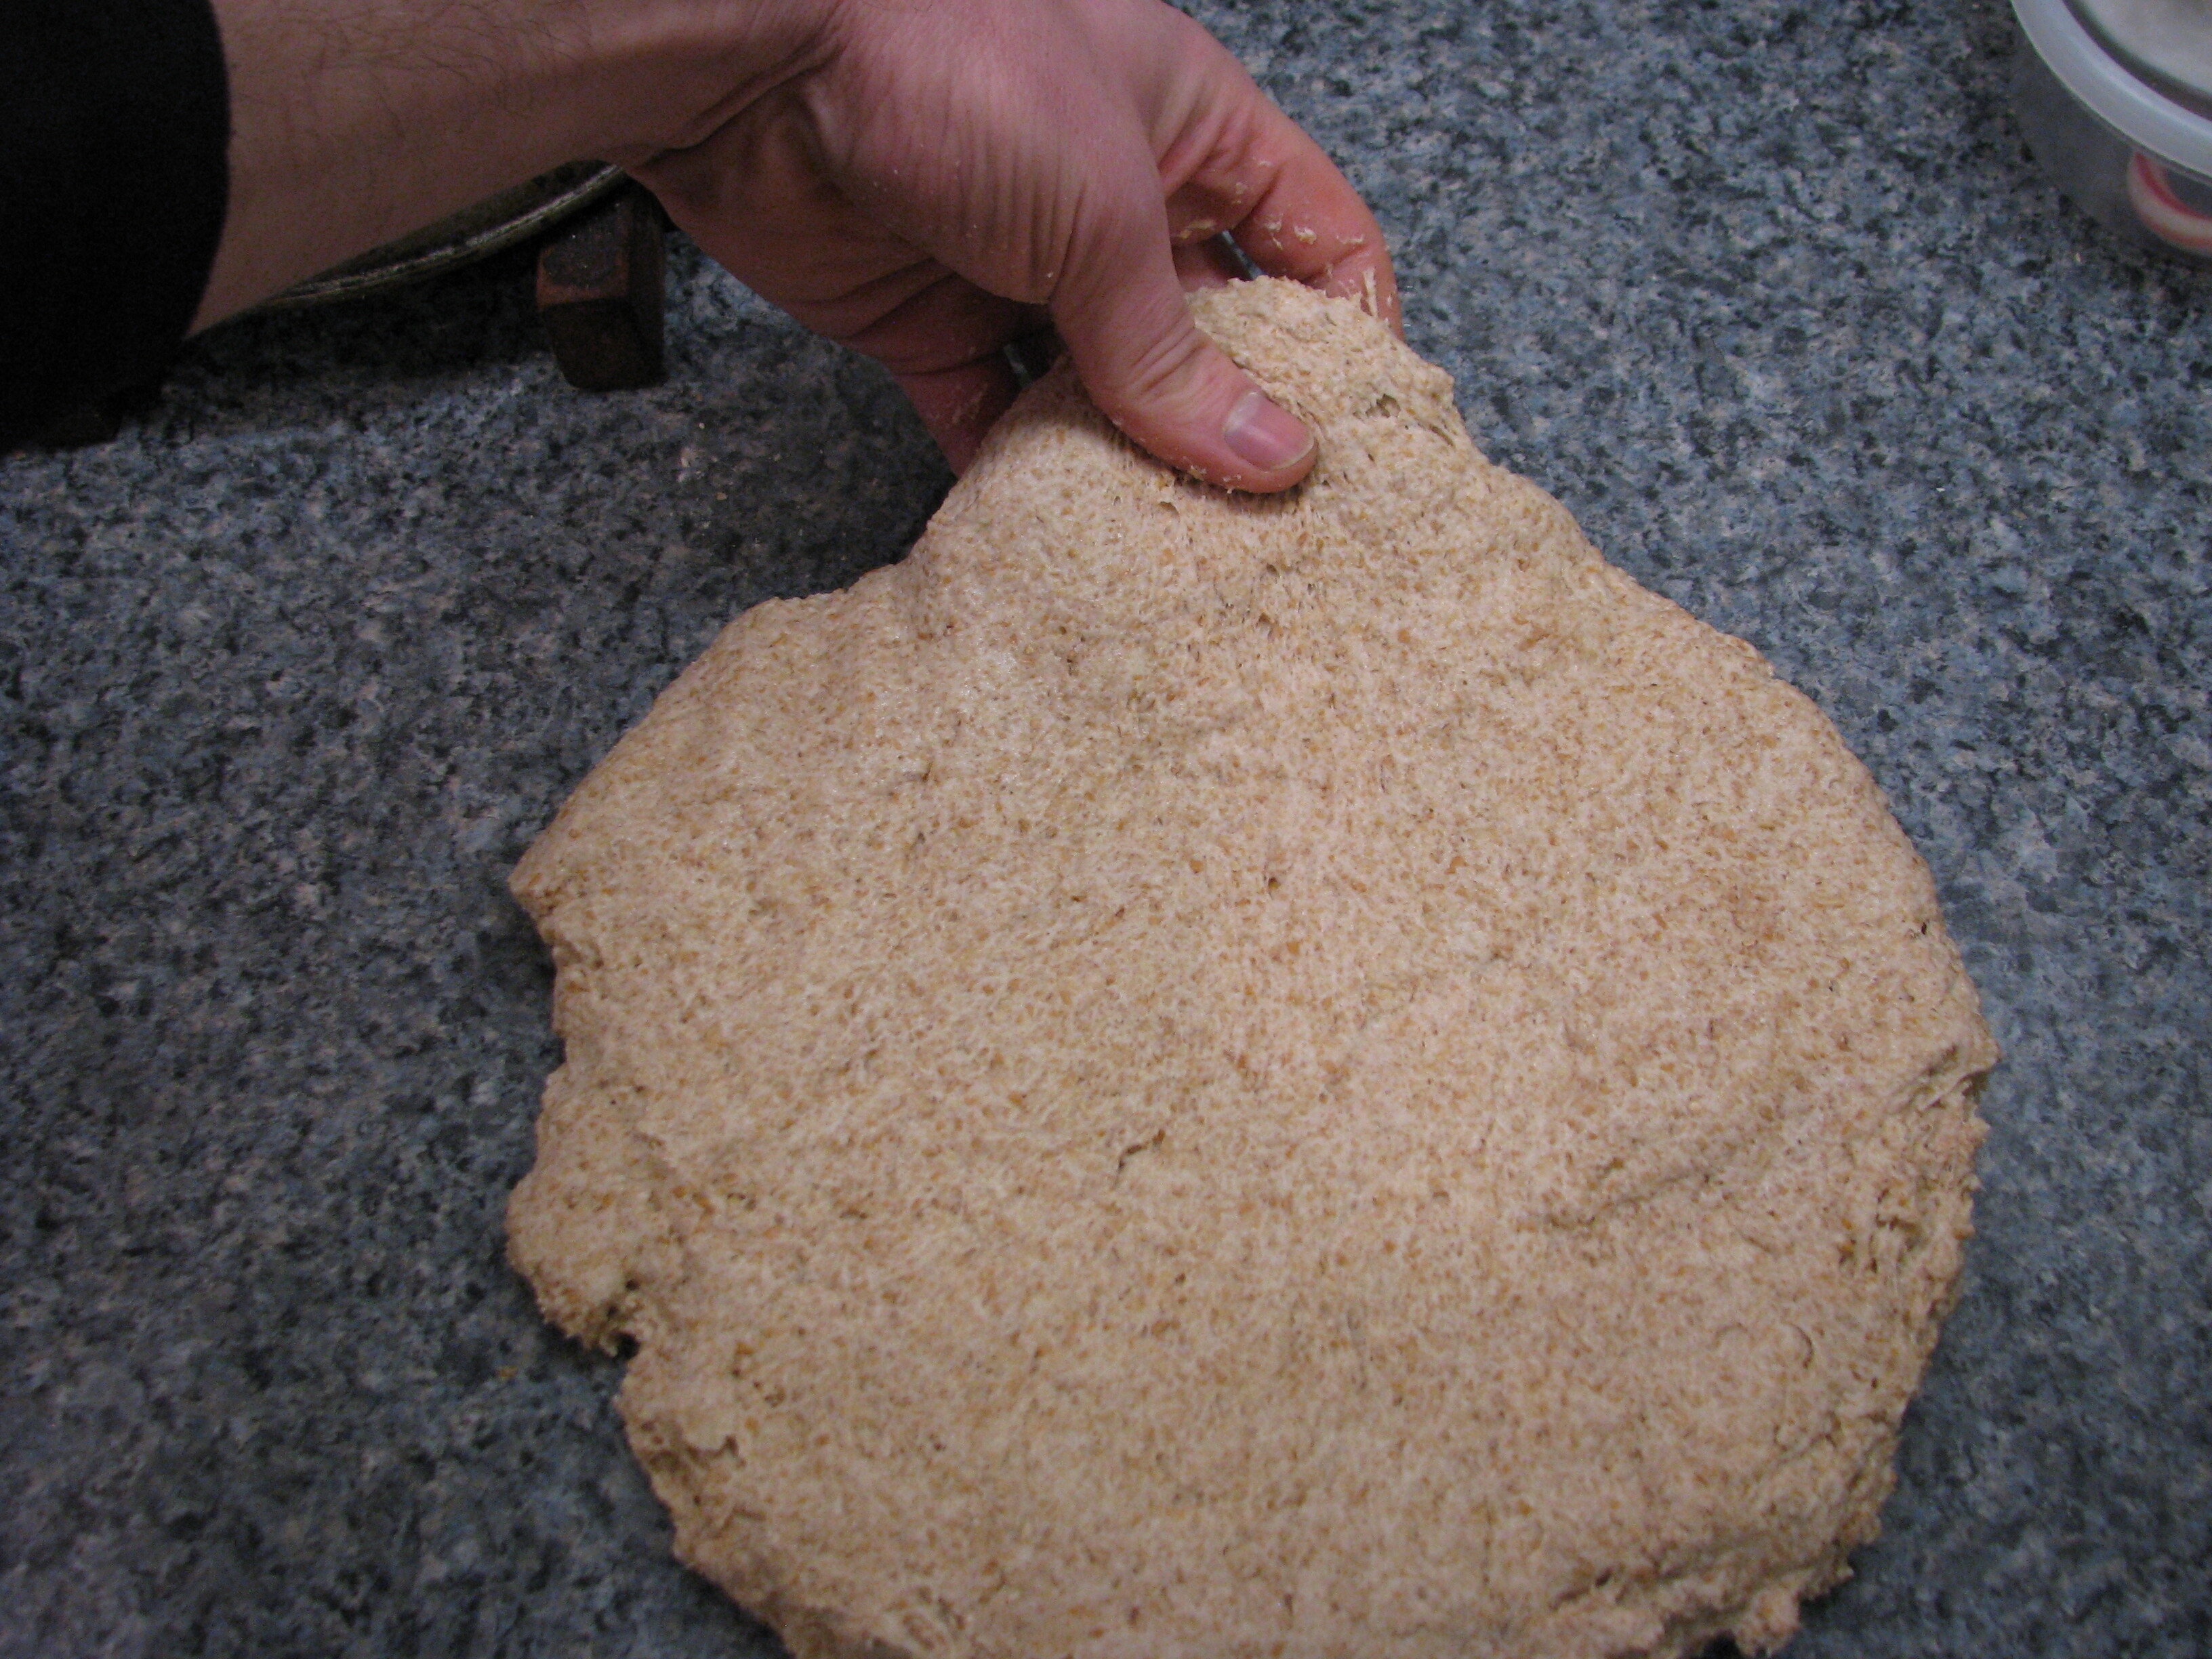
    • Stretch one edge out and then fold and press into the center. Move 1/8th of the way around and repeat for a total of 8 times, a full circle.
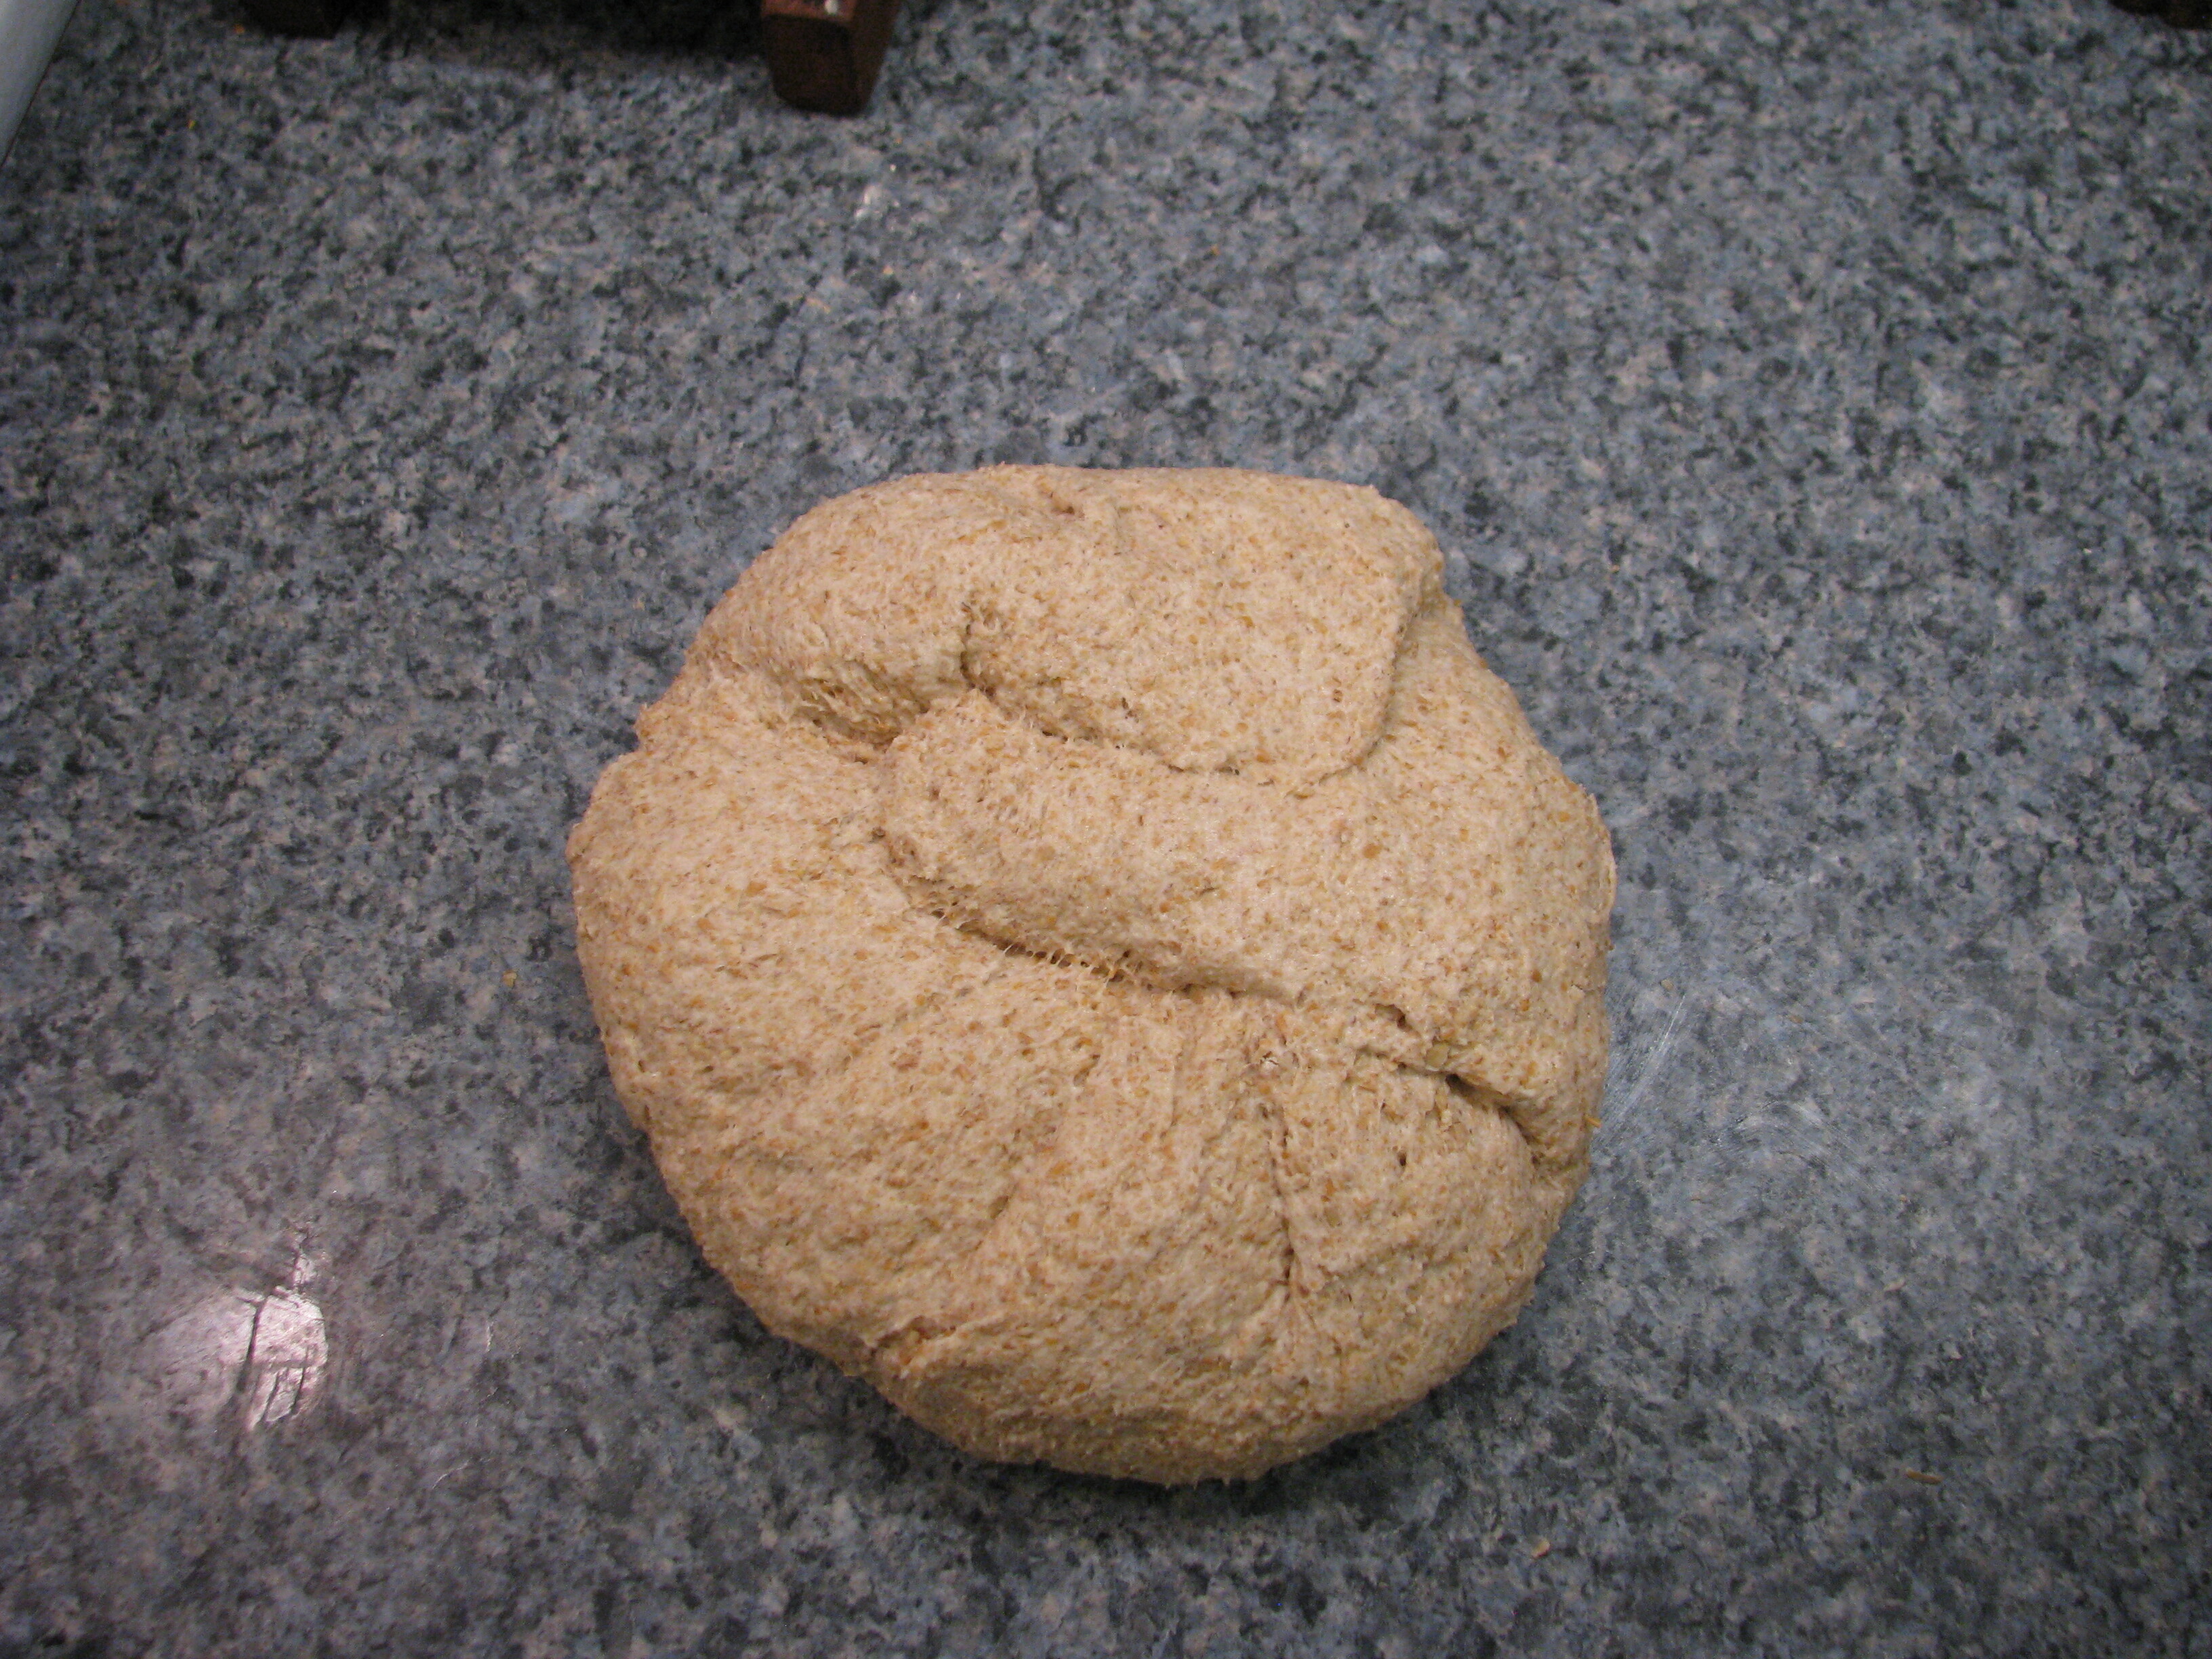
    • Pull edges up a bit and shape back into a ball.
    • Turn upside down again (seam downward) and place back in bowl.
    • (Tip: Sponge the counter clean now.)
    • Let sit, covered, for 1 hour.
  • Prep for proof: Remove dough from bowl. (Tip: Clean and dry the bowl now.) Line the bowl with a few layers of flour-saturated cloth. Lightly sprinkle with extra flour.
  • Shape the dough: Place on counter with seam side up. Flatten a bit and fold two opposite sides in, pressing and pinching the seam closed. Move 90° around and repeat. Pull up into a ball. Place in cloth-lined bowl, seam side up this time. Sprinkle some flour down the sides of the ball.
  • Cover with a plate and let sit overnight at room temperature for the proof rise.
  • The next day, watch for the dough to proof to the correct stage. This is difficult to describe, but it should be roughly doubled or tripled in volume, yet still moderately firm. (It will expand considerably in the Dutch oven. Don't wait for it to be spongy and loaf-sized!)
  • Before the dough has reached the correct stage, place the Dutch oven with lid ajar on an upper oven rack and preheat to 460°F. Leave enough time for the Dutch oven to absorb heat after the oven reaches the target temperature, perhaps 15-30 minutes.
  • When ready to bake:
    • Dust the top of the dough ball with more flour
    • Move the Dutch oven to the stove top and sprinkle the wheat bran or corn meal evenly across the bottom to avoid sticking. It will smoke somewhat.
    • Gently pick up the cloth and turn the dough out onto one hand, peeling the cloth back, then lower the dough carefully (seam side down) into the Dutch oven.
    • Close the lid, and slide the Dutch oven back into the oven.
  • Bake for 30 minutes. (Tip: Lay out floured cloth on warm stove top to dry.)
  • Reduce oven thermostat to 425°F, remove the lid from the Dutch oven, and bake for another 20 minutes.
  • After removing from oven, allow the bread to cool in the Dutch oven for a few minutes, then gently transfer it to a cooling rack.

Don't try to cut into the bread until it is quite cool, as it is still cooking and hardening internally.

Some optional changes:

  • Misting the inside of the Dutch oven just before the lid goes on seems to allow a bit more rise, perhaps by keeping the crust more supple, but can produce scaly patches on the crust if there's a lot of flour still adhering to the dough ball from during the proof.
  • Leaving the lid on during the second part of the baking seems to produce a slightly softer crust, which I like.

Maintenance

Floured cloth

The cloth should be completely dried after use to prevent mold. Any buildup of dough should be scraped off, and excess flour shaken off before storage. If the cloth becomes stiff, it can be creased and rolled to make it soft again. A layer of flour applied before use will keep dough from sticking.

The cloth can be stored rolled up.

Starter

You can maintain your starter however you like. I don't like producing a lot of discard (I can only eat so many pancakes) so I use a discard-free schedule with low-percentage feeding.

My base quantity is 35 g. Each day I increase the mass by 30%: The first night (after making the dough) I stir in 5 g each of flour and water, then 6 each the next night, then 8, 11, 15, 20, and finally 25. On baking day I remove 180 g starter for the dough, leaving me again with 35 g.

You should be able to create a starter just by mixing reasonably fresh whole wheat flour with water and continuing to feed it. It should start bubbling within just 2-4 days, although it may take a little longer to reach full strength. Getting a sample of an established starter will give you a head start and will be more reliable at first, but isn't necessary in the long run.

Why this recipe

This is the result of about a year of experimentation starting around the beginning of the COVID-19 pandemic. My core criterion was that the bread had to be 100% whole wheat. No white flour. A little milk or molasses or oil or egg was fine, but it had to be 100% whole grain, replacing the healthy bread we had been getting at the grocery store (which I was now trying to visit as little as possible).

It turns out that there are not very many recipes out there for 100% whole wheat, and trying to adapt them—as an only somewhat experienced baker—was quite difficult. Whole wheat requires a different hydration level and has lower gluten strength, and I wasn't sure how to balance all the factors.

For a while I was using a recipe based on something from the Laurel Kitchen Bread Book. (Highly recommended—it's all about whole grain breads and goes into some depth on various bread-making factors.) I was using honey and store-bought yeast, King Arthur flour, two rises, and a warming hutch made from a cardboard box and a heated blanket. I was dead-set on making sandwich loaves, but I occasionally and unpredictably had terrible trouble with sticking in the loaf pans. I often had to rip the bread out, no matter how well I had buttered the pan. The rise wasn't that great, and often the bread would muffin-top over the sides, making it even more difficult to remove. I also felt I could never quite get the hang of kneading, and it was just intolerably messy due to the stickiness.

At some point I adapted a no-knead Dutch oven recipe that used AP flour and yeast by combining it with a multistage, refrigerated-proof recipe that used 100% whole wheat and therefore had the hydration information I was missing. It took about 36 hours to make, but it worked, and from there I was able to streamline the recipe and make improvements: No refrigeration; no preferments; different times and temperatures, using corn meal as a release agent rather than oil; a tensioning technique learned from a coworker; and proofing in cloth to achieve a gentle transfer.

After some months I ended up with something very much like this recipe, and I have found very little to change about it in the year since. I hope it works for you as well.

Detailed notes

This isn't important to read unless you're curious about particular fiddly details of my personal process and why I've made certain choices.

Dough

The freshly mixed dough
  • Salting the water and letting it dissolve is an attempt at uniformity. I don't know if it matters.
  • The reason I stir the starter into the water is that I want to disperse the yeast well, without having to knead. However, I'm a bit concerned that this could hurt the yeast and bacteria, either from direct exposure to chlorination or due to the low osmolarity of the water (even with the buffering effects of the flour in the starter). My compromise is to salt the water first, and mix in the flour right away. Some day I should do an experiment where I let the mixture sit before adding the flour. Maybe it doesn't matter.
  • Some people are very particular about what they feed their sourdough. Personally, I haven't noticed a particular difference between iodized and uniodized table salt. Similarly, I use city tap water and it works fine. If your city's water is particularly heavily chlorinated, though, I suppose you might have trouble.
  • I've been very happy with the whole wheat flour from a local-ish mill, Ground Up Grain. They source the wheat from two farms that are also in the Northeast—Oechsner Farms in New York and Buck Farms in Maine—and will ship me a 45 lb bag of fresh-milled flour. (This lasts me about six months at one loaf per week.) The flour is relatively coarse, with occasional visible flakes of bran, but has been strong enough to handle long-rise sourdough. It also has good flavor, and my starter has been happy with it. (It doesn't like all wheat sources, which surprises me.) If I switch to a different whole wheat flour, I find that the stickiness and firmness of the dough varies, so I try to just stick with the same source.

Tensioning

  • Letting the dough sit for 15 minutes before trying to work with it is important. It allows the flour grains to hydrate. Anything from 10-30 minutes is probably fine.
  • In the early tensioning steps, the dough is pretty sticky and slack. By the end, it is firm and tight and doesn't leave gunk on my hands or the counter.
  • The 1 hour intervals when tensioning allow the gluten to relax enough for tensioning again. This isn't as important at the beginning, so if I'm in a rush and I'm concerned that I won't have enough time before bedtime, I'll shorten the first few tensioning intervals a bit. 40 minutes seems fine for those.
  • After each tensioning, I sponge the counter while it's still moist. This dramatically reduces cleanup time later—the early tensionings tend to leave a good bit of crud, and it will quickly dry out and become difficult to remove.
  • I think having the seam downward between tensionings helps maintain the tension.
Dough ball flattened for tensioning
Starting to pull one edge
One edge folded in
Edges folded in halfway around
All edges folded in (8 sides)
Placed back right-side-up in bowl
One pass of tensioning the dough

Proof

  • Before lining the bowl with cloth and shaping the dough, it's a good idea to go ahead and wash and dry the bowl. It's still moist, so the dough comes off with just finger-scrubbing, and in the morning it will just need a quick rinse. If left until baking time, it will harden and become irritating to clean.
  • The floured cloth I use is from a flour sack, or rather a set of 5 lb flour sacks. The cloth is thick and dense. I first lay down one empty sack into the bowl, then a second at right angles. The third is one where I have removed the string holding the seam together, allowing it to flatten out as a square. I rubbed flour into the fabric, and I never wash it—more flour gets embedded in it over time. (Some maintenance caveats later.) The fabric can sometimes get a little stiff, making it annoying to shape to the bowl.
  • Adding a thin layer of extra flour accomplishes two things: It keeps the dough from sticking, and also keeps the dough from wetting the cloth. (It may even help keep the cloth from dehydrating the dough, for all I know.) I used to roll the ball in flour, but I don't think that did anything special.
  • I've noticed that having the seam side up during proof allows the seam to open, no matter how well you thought you pinched it closed. So, pinching it well probably doesn't matter. The bowl's shape is probably more important.
  • In the depths of winter, we let our house cool to as low as 55°F at night, and we don't heat above 65°F in the morning. At these times, it can take until afternoon before the bread is ready to bake. On warmer days, it may be ready to bake not long after I get up in the morning.
  • If the dough is underproofed, it will rise tall, crack deeply, and will not spread out much when baking. It may also have "mouse tunnels". If it is overproofed, it will feel floppy during the transfer, spread out in the Dutch oven, and not rise as high. Unless taken to an extreme, the proof level is surprisingly forgiving.
  • I'm still not very good at telling when the dough is properly proofed, and even worse at describing it. The most accurate indicator I have is how floppy the dough is during transfer, and by then it's too late—the structure of the dough is probably damaged during transfer, so taking it out and testing the floppiness (or changing my mind and putting it back for another hour) would probably hurt the oven spring.
Start of proof, freshly floured
End of proof, next day

Baking

  • Dusting the dough ball keeps it from sticking to my hands and makes for an easier transfer. Doing it before taking out the heated Dutch oven allows it to retain as much heat as possible.
  • In my experience, the majority of the wheat bran or corn meal will fall off (and can easily be brushed off after cooling) and can be stored in a little jar for reuse.
  • Higher temperatures just seem to cause burning and thicker crust. Lower ones don't produce as much oven spring.
  • I have sometimes accidentally left the oven set at 460°F for the entire time and it just produced a thicker crust and possibly a bit drier bread.
  • I've experimented with just leaving the flour dust in the Dutch oven after all the meal is shaken out, and it seems to be OK but leaves a bit of a burnt smell eventually. I think it also builds up crud.
Cornmeal scattered in hot Dutch oven
Dough transferred to Dutch oven
Half-baked, lid just now removed
Fully baked

No comments yet. Feed icon

Self-service commenting is not yet reimplemented after the Wordpress migration, sorry! For now, you can respond by email; please indicate whether you're OK with having your response posted publicly (and if so, under what name).